
If you have ever worked in the cloud before you know there comes that time when you have to deploy virtual machines/instances. Azure has done a great job of streamlining the manual creation of a VM. I hope anyone looking for a quick walkthrough finds this article helpful.
If you are looking for more details on Azure VMs please check out this link:
Deploying a windows VM

I always select virtual machines

Add

Add virtual machine

Need to provide the subscription to deploy your resources into
Need to provide a resource gorup for the grouping of your resources
Provide a name for the VM – I like to use some form of organizational app code
I’m leaving the availability options set to default for now
Since I’m deploying a windows VM I chose to go with 2019

Next we need to setup admin credentials for the Azure VM

Allowing RDP port open to allow me to log into the VM once it is up and running
If you have an existing windows license you can check this box and save money

Keeping default SSD for my OS disk type
In the data disk section could add an additional disk to the VM – IE have an app that needs to store data, could add a disk for this. FYI; you can hot add disks in the future.

If you don’t have an existing network then Azure will auto create you one
This is where you could select from existing networks already in your environment

Default works majority of time
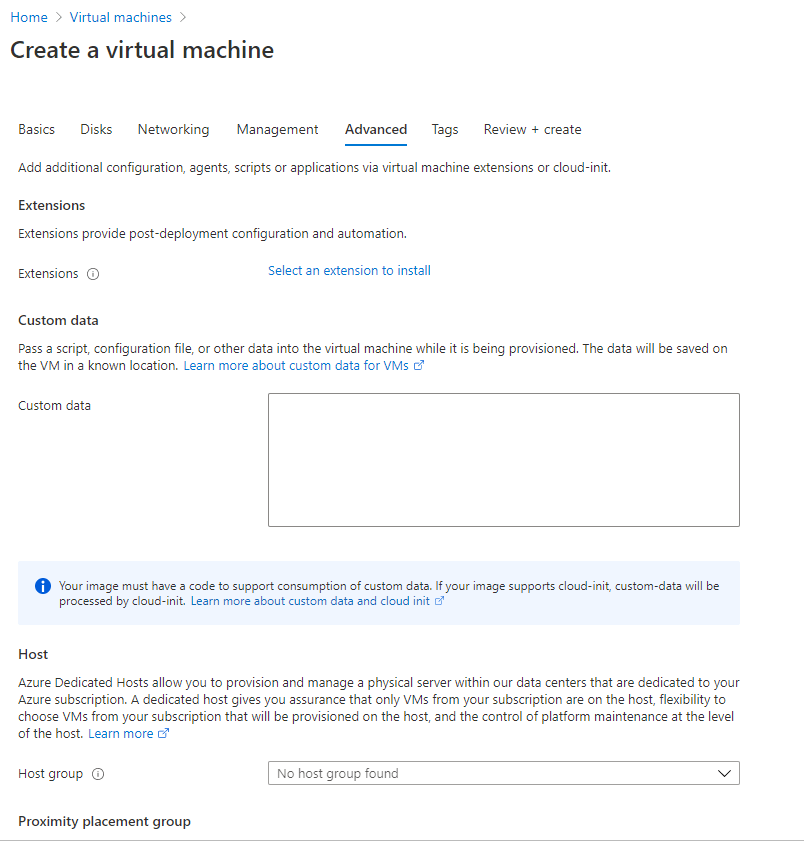
Leaving default but the custom data section would be for any scripts or files a particular app may need when being created

As always you can apply tags for good house keeping

Validation pass so lets create

Now the patience begins

The VM has completed


Now we are in the VM and can continue customizing
Summary:
Deploying a virtual machine manually shouldn’t be a difficult task. Thanks to Azure they have made it very simple to deploy a VM. As always, I hope yall found this useful.